
Prepare Environment
Preflight tasks ..
Prepare Environment
Before you begin there's a number of preflight tasks that need to be completed:
create a 'installation user' with sudo privileges.
install supported version of OpenJDK 11
set PENTAHO_JAVA_HOME
install certified version of Postgres 15
create 'superadmin' user
install pgAdmin4
The training environment is: Ubuntu 24.04
Pentaho Installation Account
Add an account that is assigned administrative privileges by performing the following steps. We'll be using this account to complete the deployment.
This section is for Reference only.
For production environments its best practice to create a specific 'installation user' account with the required role / permissions.
Run update & upgrade (optional).
sudo apt update -y && sudo apt upgrade -yAdd new user to system.
sudo adduser pentahoSet password.
New password: password
Retype new password: password
passwd: password updated successfully
Follow the prompts to set the new user’s information. It is fine to accept the defaults to leave
all this information blank:
Add new user to sudo group.
sudo usermod -aG sudo pentahoTest access.
su - pentahosudo ls -la /rootRun update & upgrade.
sudo apt update -y && sudo apt upgrade -yCheck whether Java is already installed in our system.
java -version
Install openjdk 11.
sudo apt install openjdk-17-jdk && sudo apt install openjdk-17-jre-headlessCheck Java version.
java -versionopenjdk 17.0.12 2024-07-16
OpenJDK Runtime Environment (build 17.0.12+7-Ubuntu-1ubuntu222.04)
OpenJDK 64-Bit Server VM (build 17.0.12+7-Ubuntu-1ubuntu222.04, mixed mode, sharing)Tidy up.
sudo apt autoremoveSet Java Version
You can have multiple Java installations on one server. You can configure which version is the default for use on the command line by using the update-alternatives command.
Run the following command to set the preferred Java version.
sudo update-alternatives --config javaThere is only one alternative in link group java (providing /usr/bin/java): /usr/lib/jvm/java-17-openjdk-amd64/bin/java
Nothing to configure.Set PENTAHO_JAVA_HOME
Perform the following steps to set the PENTAHO_JAVA_HOME environment variable. This will ensure that if there are multiple versions of Java the correct version is associated with PENTAHO_JAVA_HOME.
Run update & upgrade.
sudo apt update -y && sudo apt upgrade -yVerify java version.
java -versionDetermine path to OpenJDK.
update-alternatives --list javaSet PENTAHO_JAVA_HOME - Global
As Pentaho is being installed under root to /opt/ then set PENTAHO_JAVA_HOME for all users.
Edit /etc/environment.
sudo nano /etc/environmentAdd the following.
# set PENTAHO_JAVA_HOME
PENTAHO_JAVA_HOME=/usr/lib/jvm/java-17-openjdk-amd64
Save.
CTRL + o
Enter
CTRL + x
Check path.
echo $PENTAHO_JAVA_HOMERestart the server.
rebootSet PENTAHO_JAVA_HOME - Local
Set the path to OpenJDK.
sudo nano .bashrcAdd the following to the bottom.
# set PENTAHO_JAVA_HOME
export PENTAHO_JAVA_HOME=/usr/lib/jvm/java-17-openjdk-amd64
Save.
CTRL + o
Enter
CTRL + x
Reload .bashrc.
. ~/.bashrcCheck path.
echo $PENTAHO_JAVA_HOMERestart the server.
rebootPostgreSQL 15
PostgreSQL 14 & 15
MySQL 8.026
MySQL 8.026
Oracle 23c
Oracle 19c & 23c (including patched versions)
MS SQL Server 2019
Microsoft SQL Server 2017 & 2019 (including patched versions)
Maria DB 11.1.2
Maria DB 11.1.2
Supported Pentaho Database - PostgreSQL
Ensure you have a 'clean' PostgeSQL environment to avoid any potential conflicts - usually port.
Run update & upgrade.
sudo apt update -y && sudo apt upgrade -yCheck Postgresql version.
apt show postgresql -aPackage: postgresql
Version: 14+238
Priority: optional
Section: database
Source: postgresql-common (238)
Origin: UbuntuIf PostgreSQL is installed, check its a supported version:
PDI v10.2 == Postgres 14 & 15
If not purge current Postgresql instance.
Execute each command separately ..
sudo apt autoremove to tidy up ..
sudo apt-get --purge remove postgresql
sudo apt-get purge postgresql*
sudo apt-get --purge remove postgresql postgresql-doc postgresql-common
Check for packages.
dpkg -l |grep postgres;PostgreSQLUpdate Repository list.
sudo apt update -y && sudo apt upgrade -yInstall PostgreSQL 14.
sudo apt-get -y install postgresql-14 Reading package lists... Done
Building dependency tree... Done
Reading state information... Done
The following additional packages will be installed:
libcommon-sense-perl libjson-perl libjson-xs-perl libllvm14 libpq5
libtypes-serialiser-perl postgresql-client-14 postgresql-client-common
postgresql-common sysstat
Suggested packages:
postgresql-doc-14 isag
The following NEW packages will be installed
libcommon-sense-perl libjson-perl libjson-xs-perl libllvm14 libpq5
libtypes-serialiser-perl postgresql-14 postgresql-client-14
postgresql-client-common postgresql-common sysstat
0 to upgrade, 11 to newly install, 0 to remove and 0 not to upgrade.
Need to get 42.4 MB of archives.
...Check the PostgreSQL version.
psql --versionpsql (PostgreSQL) 14.12 (Ubuntu 14.12-0ubuntu0.22.04.1)PostgreSQL 15 - Add APT Repository
If you decide to go the PostgreSQL 15, the package is not available in the default package repository, so needs to be added to the official package repository using following commands.
Add APT Repository.
sudo sh -c 'echo "deb http://apt.postgresql.org/pub/repos/apt $(lsb_release -cs)-pgdg main" > /etc/apt/sources.list.d/pgdg.list'Import GPG key.
wget -qO- https://www.postgresql.org/media/keys/ACCC4CF8.asc | sudo tee /etc/apt/trusted.gpg.d/pgdg.asc &>/dev/nullUpdate Repository list.
sudo apt update -y && sudo apt upgrade -yReboot server.
rebootInstall postgresql 15.
sudo apt install postgresql-client-15 postgresql-15Reading package lists... Done
Building dependency tree... Done
Reading state information... Done
The following additional packages will be installed:
libcommon-sense-perl libjson-perl libjson-xs-perl libpq5
libtypes-serialiser-perl postgresql-client-common postgresql-common sysstat
Suggested packages:
postgresql-doc-15 isag
The following NEW packages will be installed
libcommon-sense-perl libjson-perl libjson-xs-perl libpq5
libtypes-serialiser-perl postgresql-15 postgresql-client-15
postgresql-client-common postgresql-common sysstat
0 to upgrade, 10 to newly install, 0 to remove and 0 not to upgrade.
Need to get 20.0 MB of archives.
After this operation, 66.6 MB of additional disk space will be used.
Do you want to continue? [Y/n] y
...Check postgresql 15 status.
sudo systemctl status postgresqlpentaho@pentaho:~$ sudo systemctl status postgresql
● postgresql.service - PostgreSQL RDBMS
Loaded: loaded (/lib/systemd/system/postgresql.service; enabled; vendor pr>
Active: active (exited) since Fri 2024-08-16 00:38:15 BST; 2min 27s ago
Main PID: 5687 (code=exited, status=0/SUCCESS)
CPU: 1ms
Aug 16 00:38:15 pentaho systemd[1]: Starting PostgreSQL RDBMS...
Aug 16 00:38:15 pentaho systemd[1]: Finished PostgreSQL RDBMS.sudo service postgresql stop // Stop the service
sudo service postgresql start // Start the service
sudo service postgresql restart // Stop and restart the service
sudo service postgresql reload // Reload the configuration without
stopping the serviceCheck the PostgreSQL version.
psql --versionTidy up installation.
sudo apt autoremoveGrant privileges to a SuperUser
During installation, a 'postgres' user is created automatically. This user has full superadmin access to your entire PostgreSQL instance. Before you switch to this account, your logged in system user should have sudo privileges.
Log in as 'postgres' user.
sudo su -l postgresChange password.
psql -c "ALTER USER postgres WITH PASSWORD 'Welcome123'";Exit
CTRL + dSwitch to 'postgres' user.
sudo -u postgres psqlCreate 'pentaho' user.
CREATE USER pentaho WITH PASSWORD 'Welcome123';
Upgrade 'pentaho' to superuser.
ALTER USER pentaho WITH SUPERUSER;Exit.
CTRL + dSwitch to 'pentaho' user:
sudo -u pentaho psql postgres
Check connection details.
\conninfopostgres=# \conninfo
You are connected to database "postgres" as user "pentaho" via socket in "/var/run/postgresql" at port "5432".Exit.
CTRL + dAllow Remote Connections
For reference only as connecting to Postgresql via localhost
By default, PostgreSQL accepts connections from the localhost only. However, we can easily modify the configuration to allow connection from remote clients.
PostgreSQL reads its configuration from the postgresql.conf file which is located: /etc/postgresql/<version>/main/ directory
Edit the postgresql.conf file.
cd
cd /etc/postgresql/15/main/
sudo nano postgresql.conf
Uncomment the line that starts with the listen_addresses, and replace ‘localhost’ with ‘*’.
Alternatively, you can specify a specific IP address or a range of IP addresses that are allowed to connect to the server.
Modify the pg_hba.conf file.
sudo nano /etc/postgresql/15/main/pg_hba.confLocate the following section and modify
# IPv4 local connections:
host all all 127.0.0.1/32 md5 # IPv4 local connections:
host all all 0.0.0.0/0 md5 Allow port 5432 through the firewall.
sudo ufw allow 5432/tcpRestart Postgres.
sudo service postgresql restartpgAdmin4 Desktop
The pgadmin4 package contains both:
• pgadmin4-desktop – Provides desktop application for Ubuntu system.
• pgadmin4-web – Provides the web interface accessible in a web browser
Update Repository list.
sudo apt update -y && sudo apt upgrade -yInstall Public Key.
curl -fsS https://www.pgadmin.org/static/packages_pgadmin_org.pub | sudo gpg --dearmor -o /usr/share/keyrings/packages-pgadmin-org.gpgCreate Repository config file.
sudo sh -c 'echo "deb [signed-by=/usr/share/keyrings/packages-pgadmin-org.gpg] https://ftp.postgresql.org/pub/pgadmin/pgadmin4/apt/$(lsb_release -cs) pgadmin4 main" > /etc/apt/sources.list.d/pgadmin4.list && apt update'Install pgAdmin4 for both desktop - see below for Web version.
sudo apt install pgadmin4-desktopCheck contents APT Repository.
cat /etc/apt/sources.list.d/pgadmin4.listPentaho Server Group
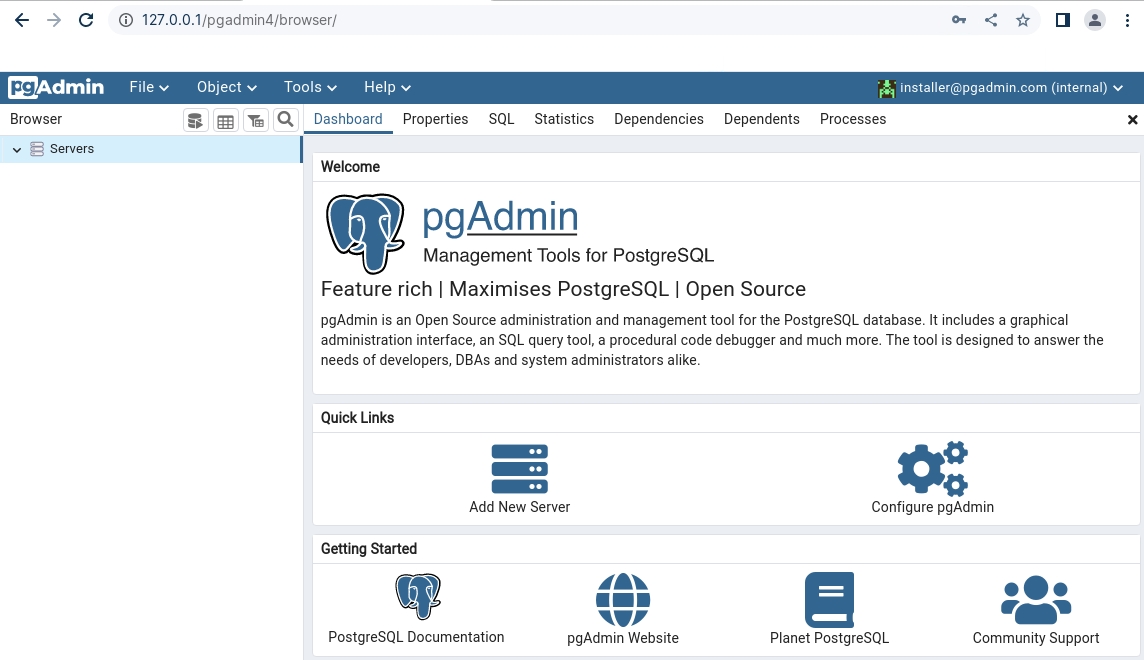
In pgAdmin, a server group is a way to organize and categorize your PostgreSQL server connections. It's essentially a logical grouping mechanism that helps you manage multiple database server connections more efficiently.
Click on: 'Add New Server'.
Enter: Pentaho for server name.
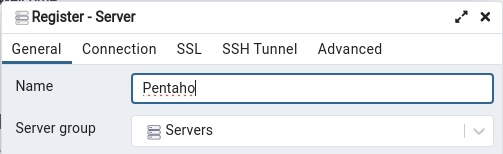
Click on 'Connection'.
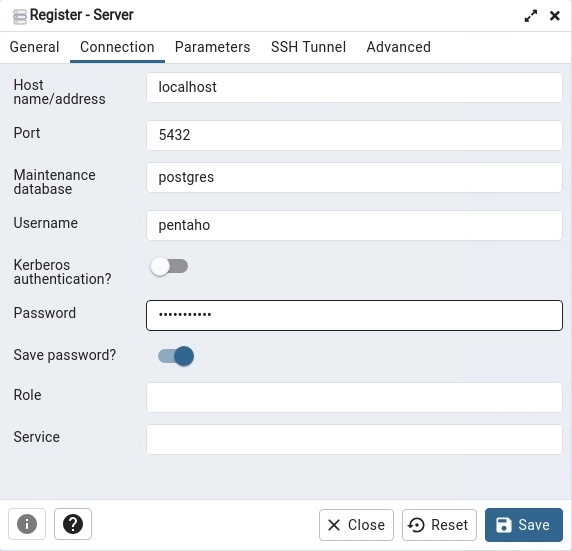
Welcome123Don't save the password in Production environments.
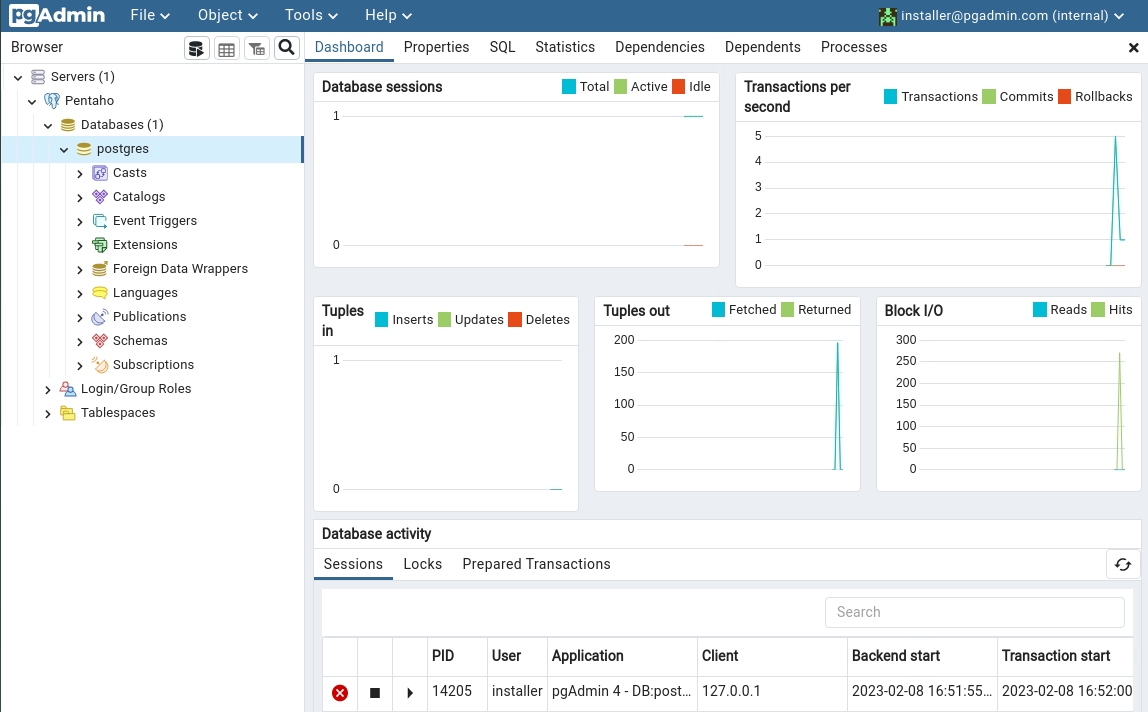
Save.
Last updated
Was this helpful?